Setup
1
Open Settings → Connectors
Click your profile in Claude Desktop, then Settings → Connectors.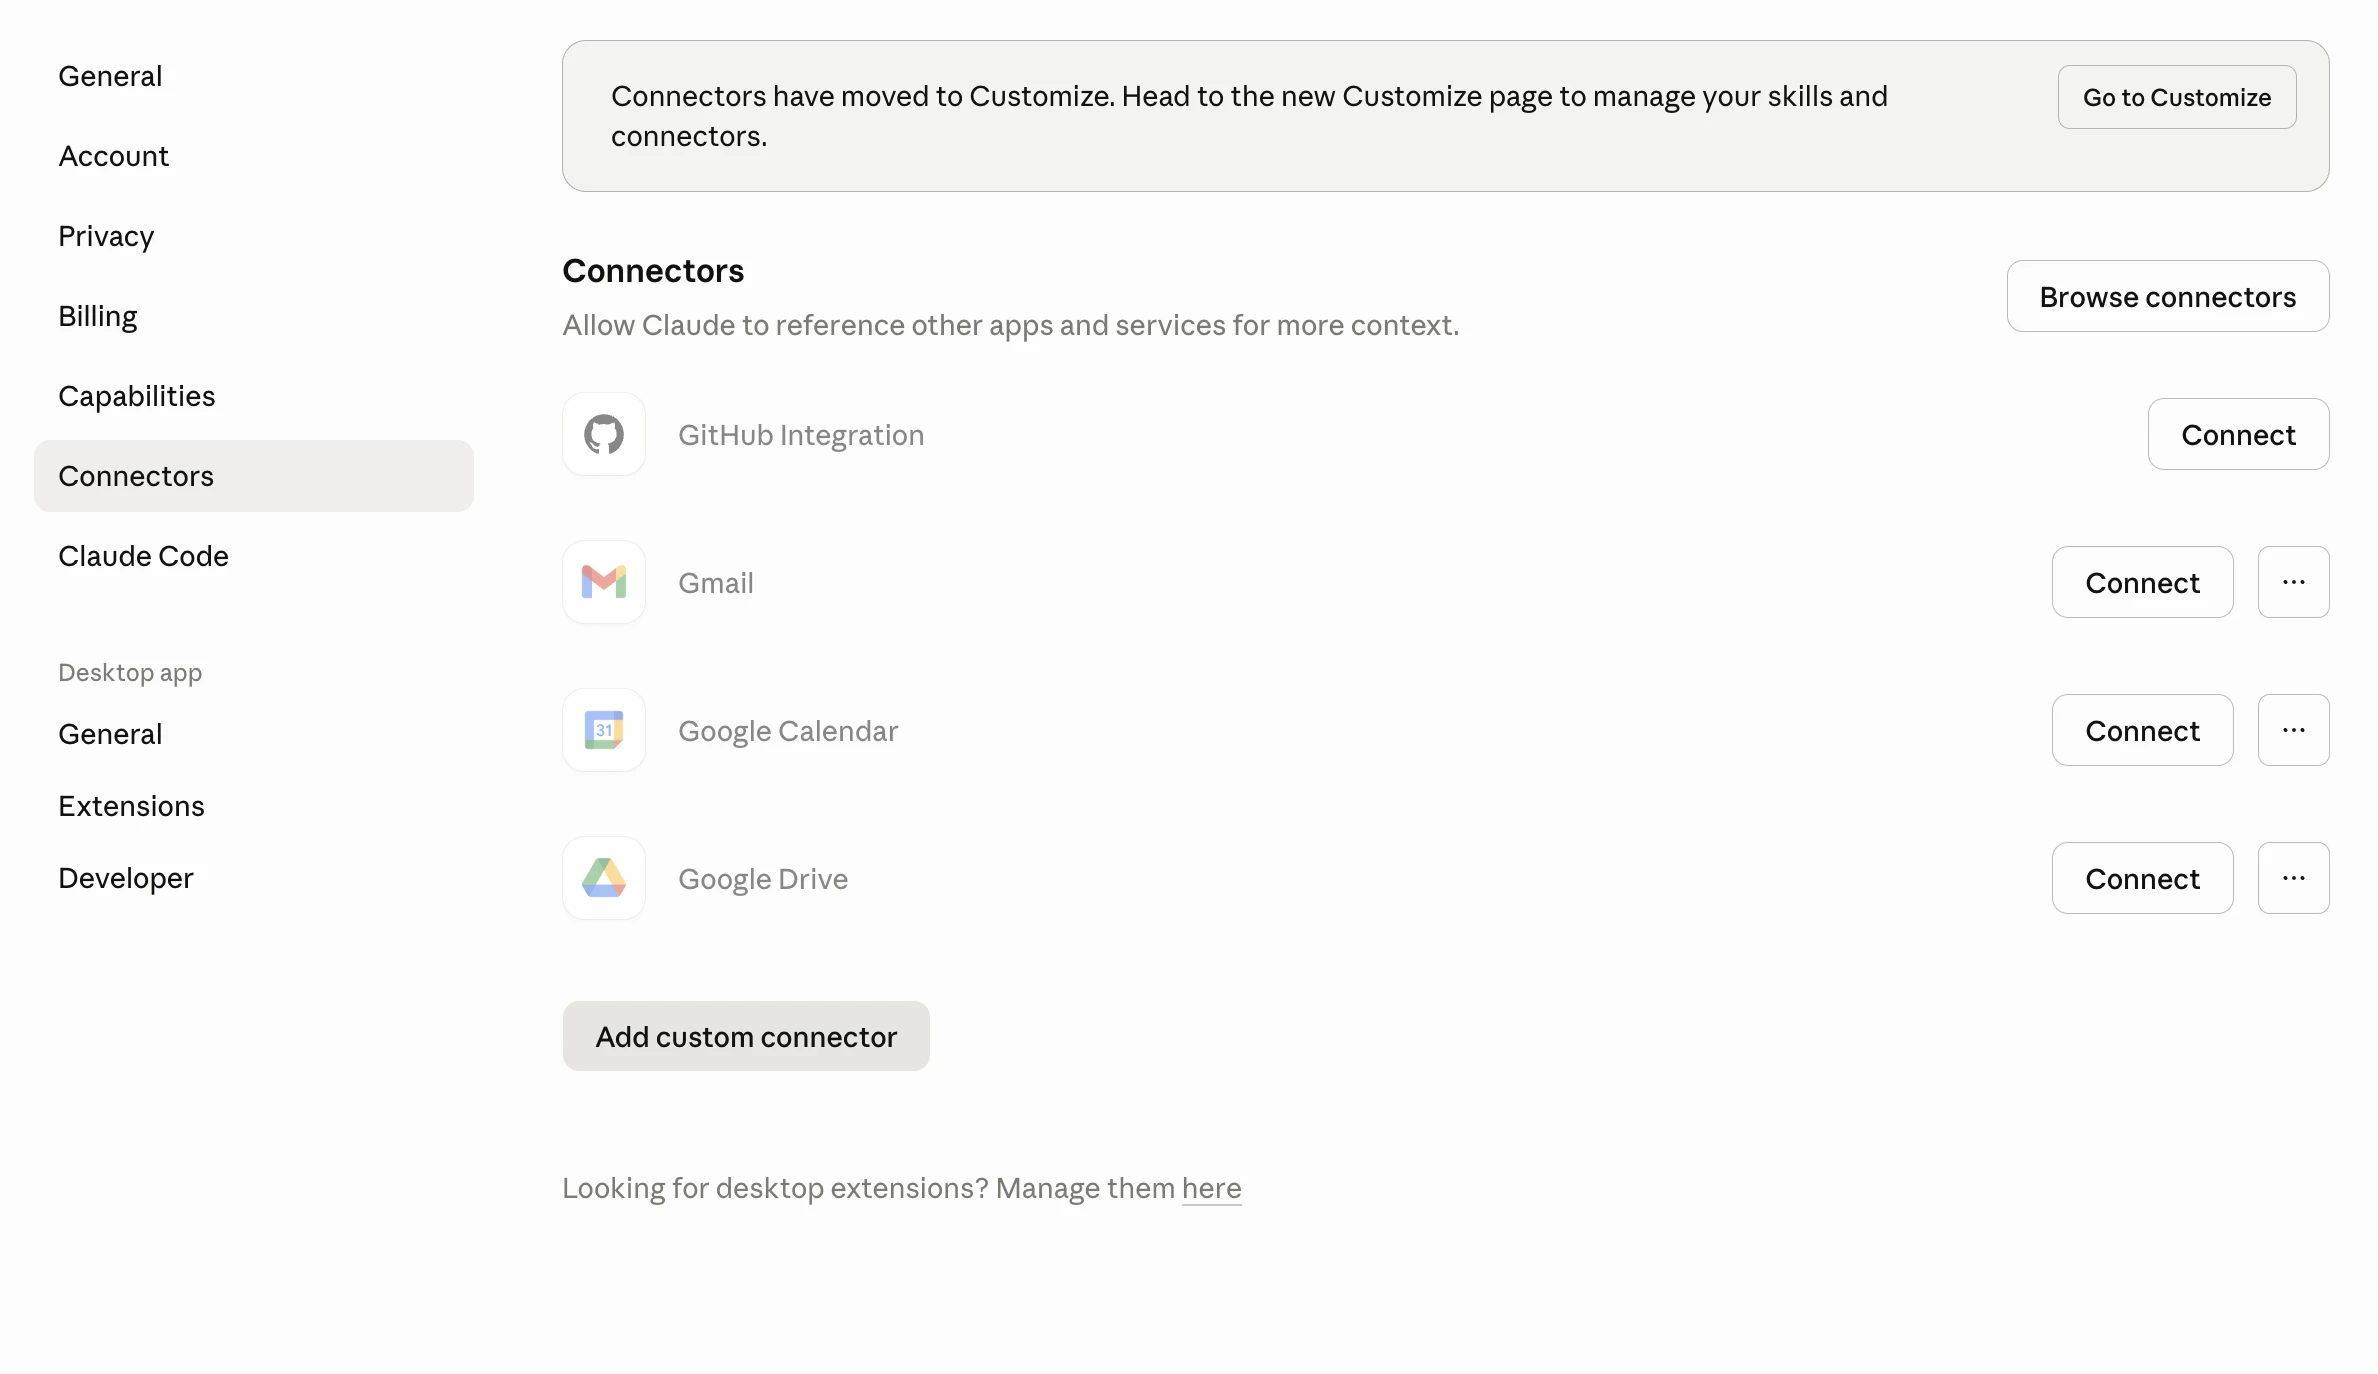
2
Add the custom connector
Click Add Custom Connector and fill in the form: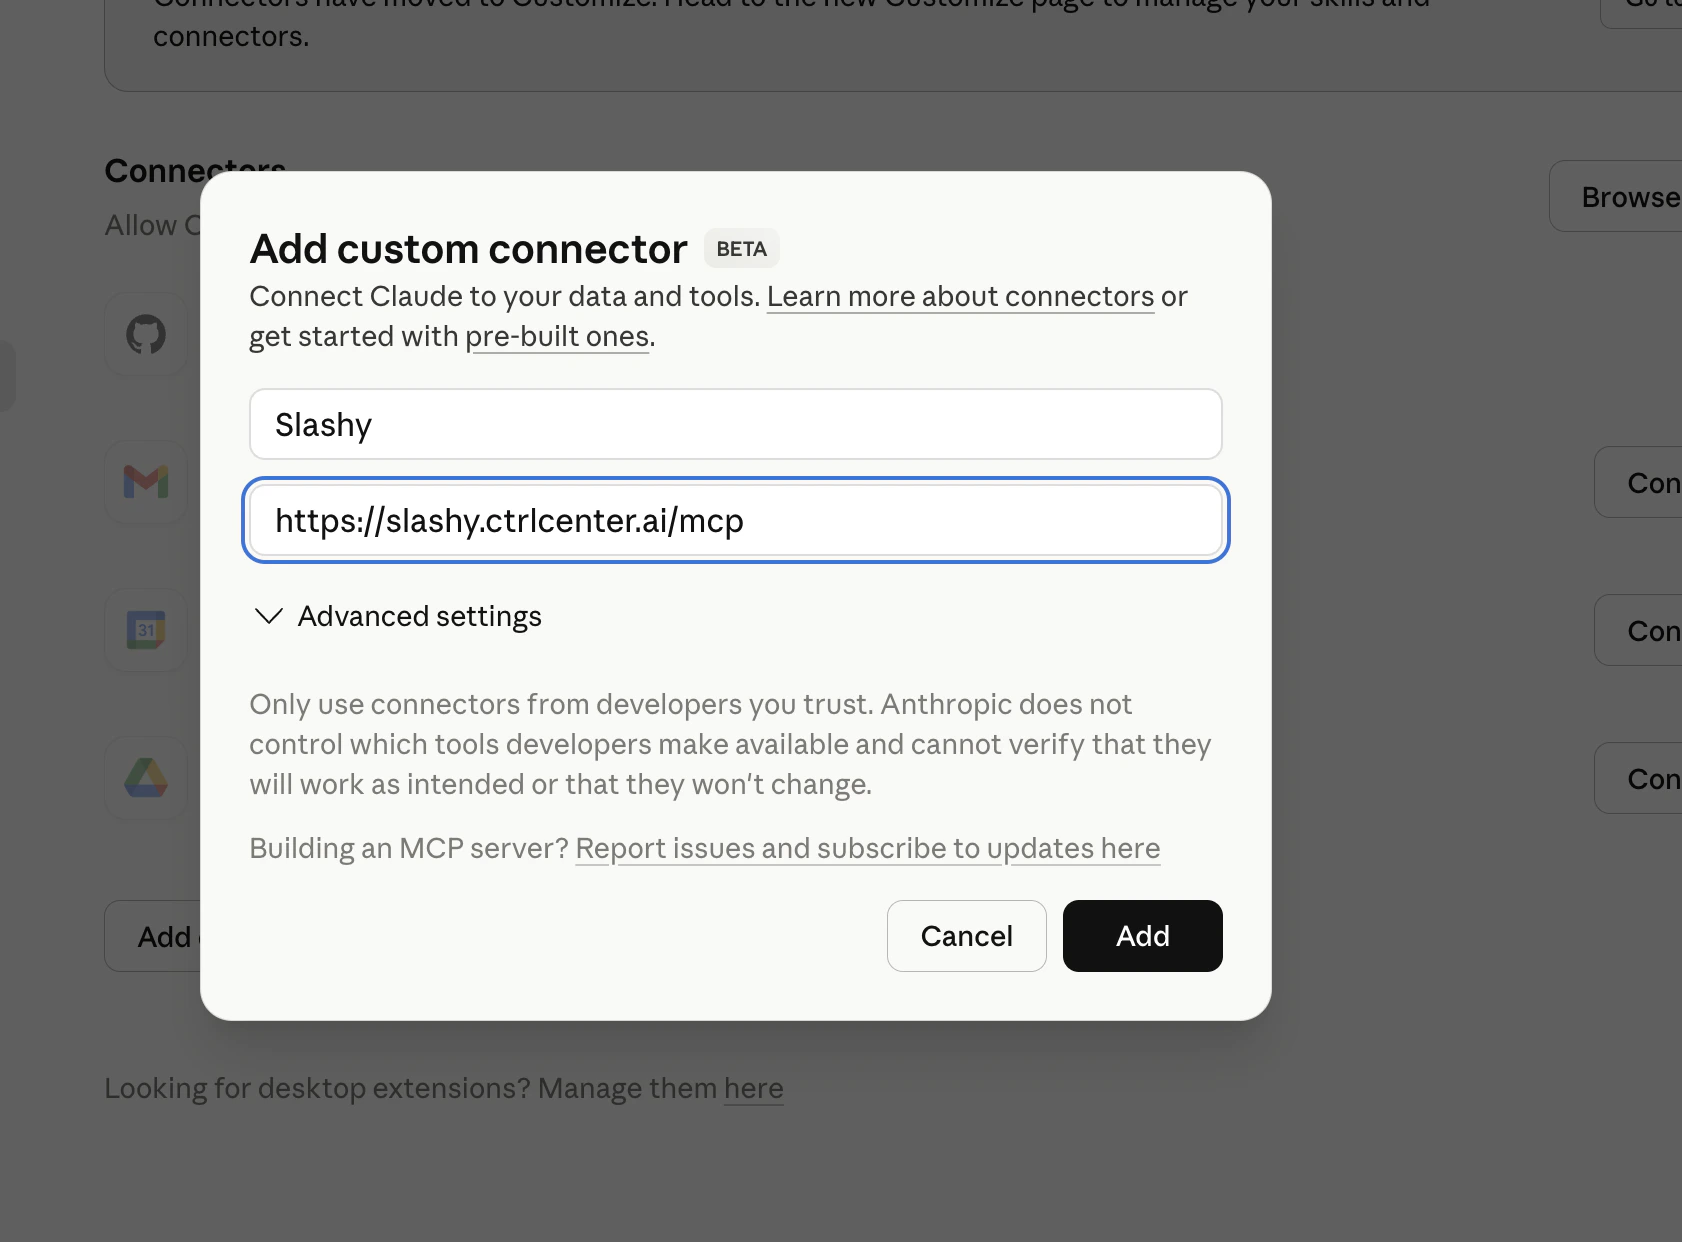
- Name:
Slashy - URL:
https://slashy.ctrlcenter.ai/mcp
3
Approve OAuth
Claude Desktop opens the Slashy login page. Sign in with Google and click Allow.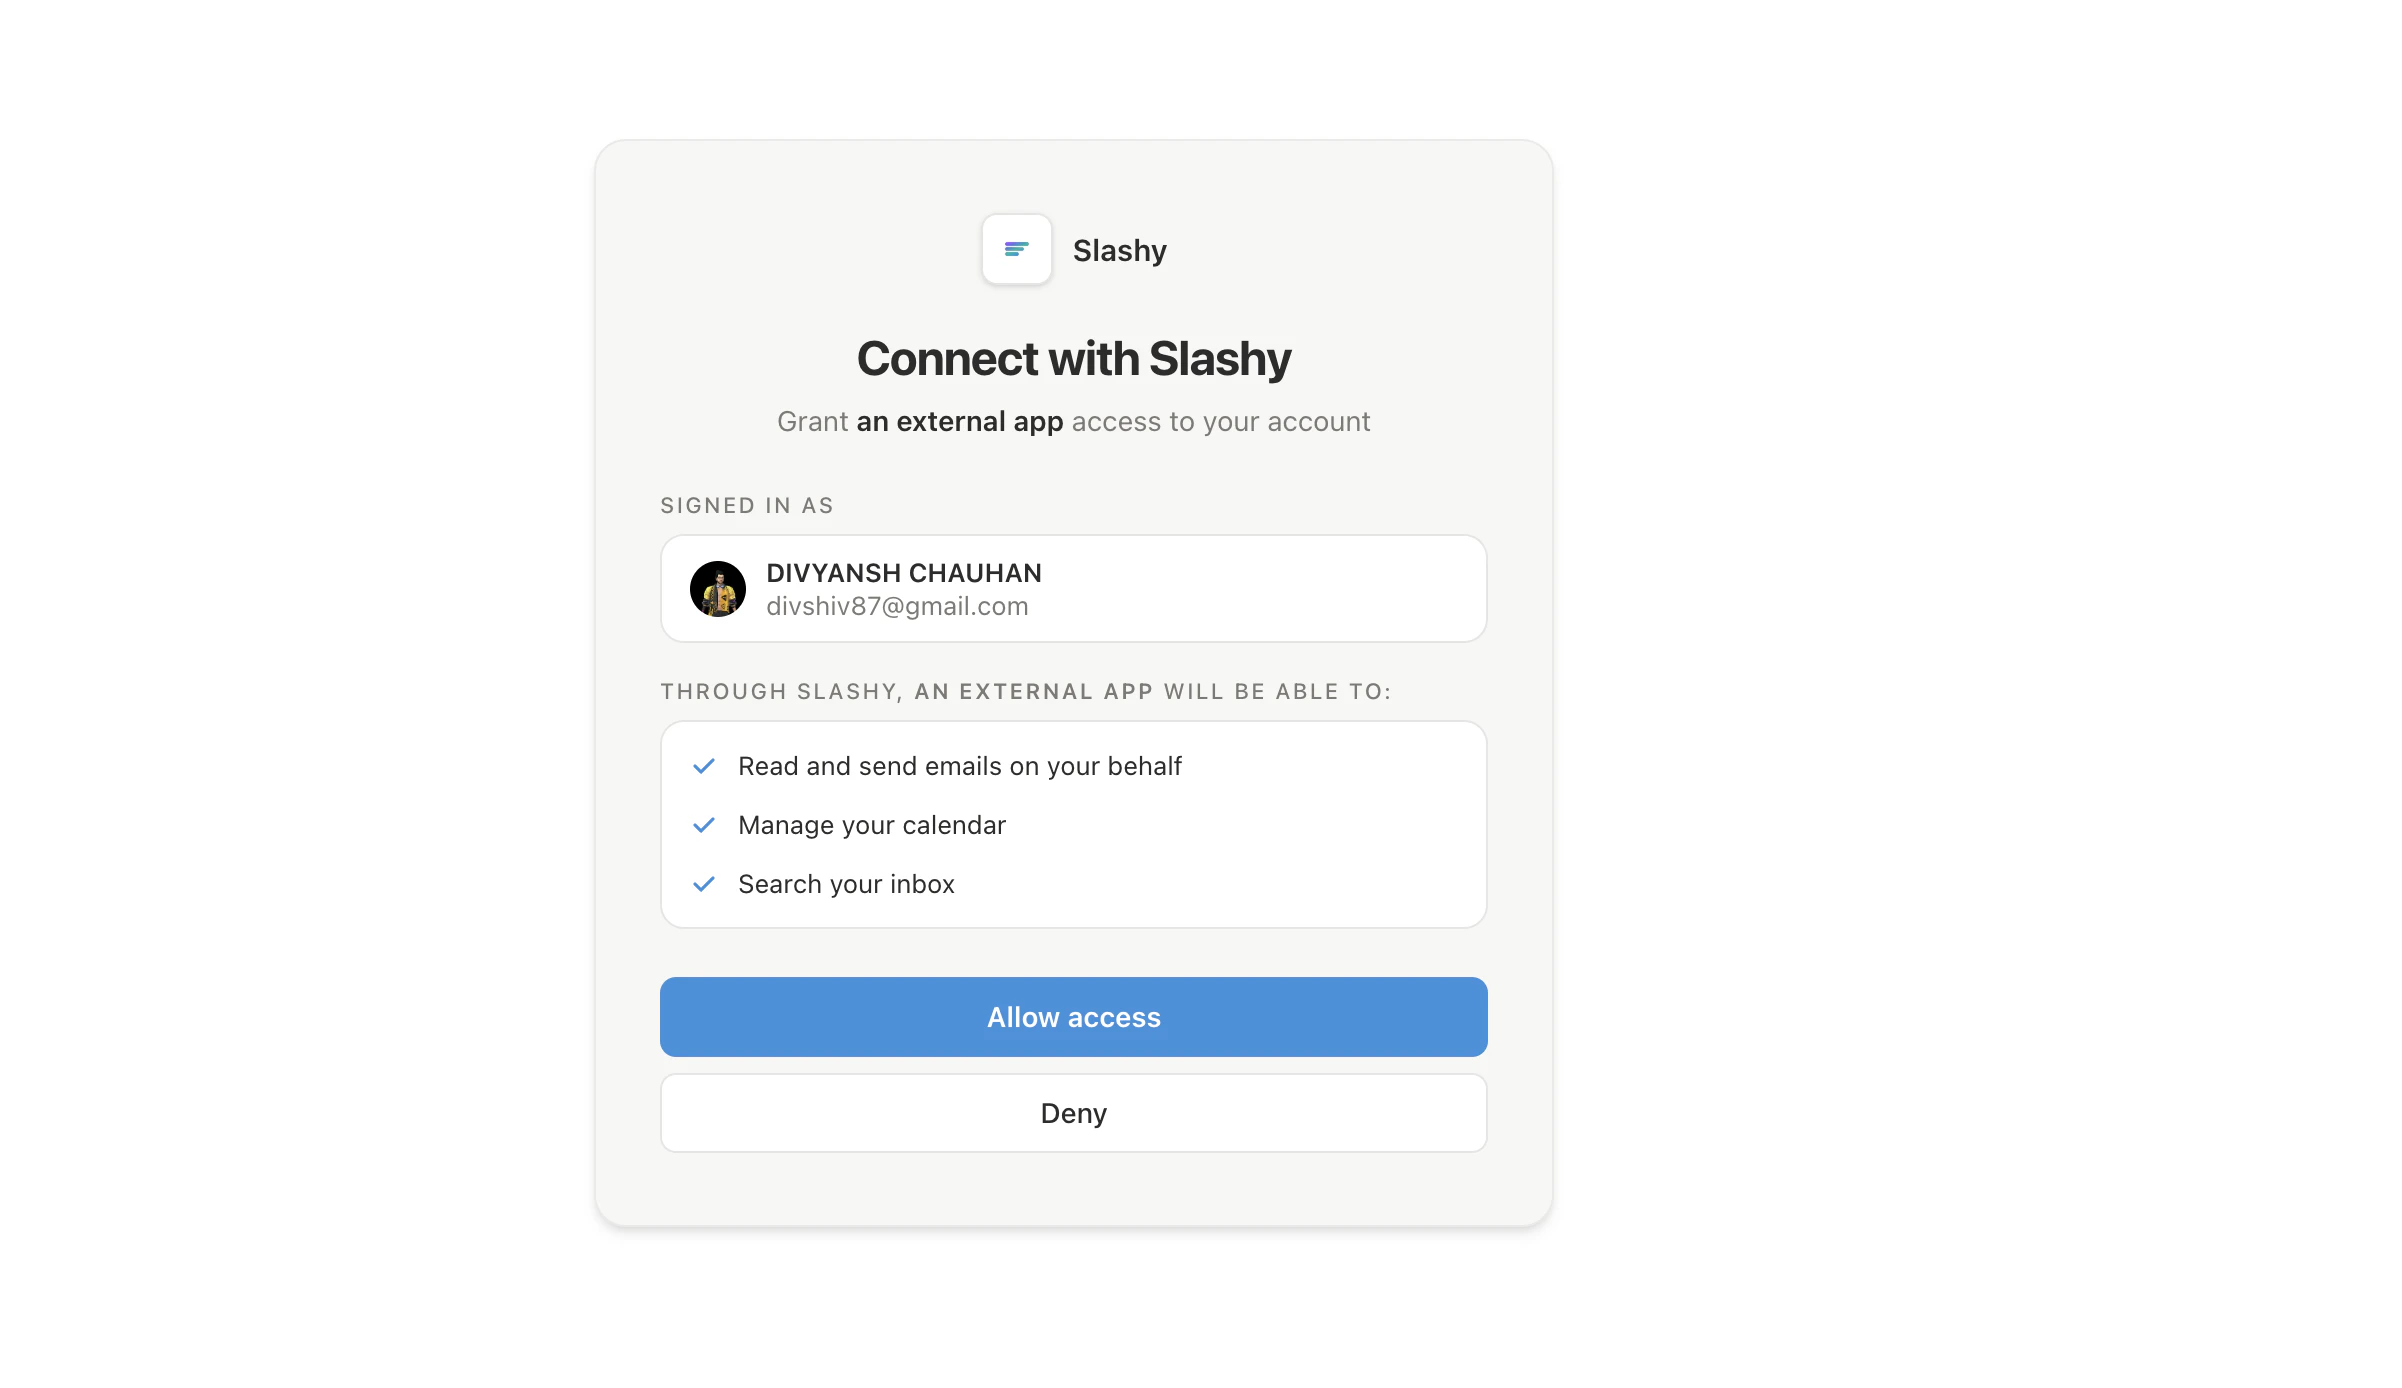
4
Verify the connection
Back in Connectors, you should see Slashy with a green Connected badge. Start a new chat and you’ll see Slashy tools available in the tool tray.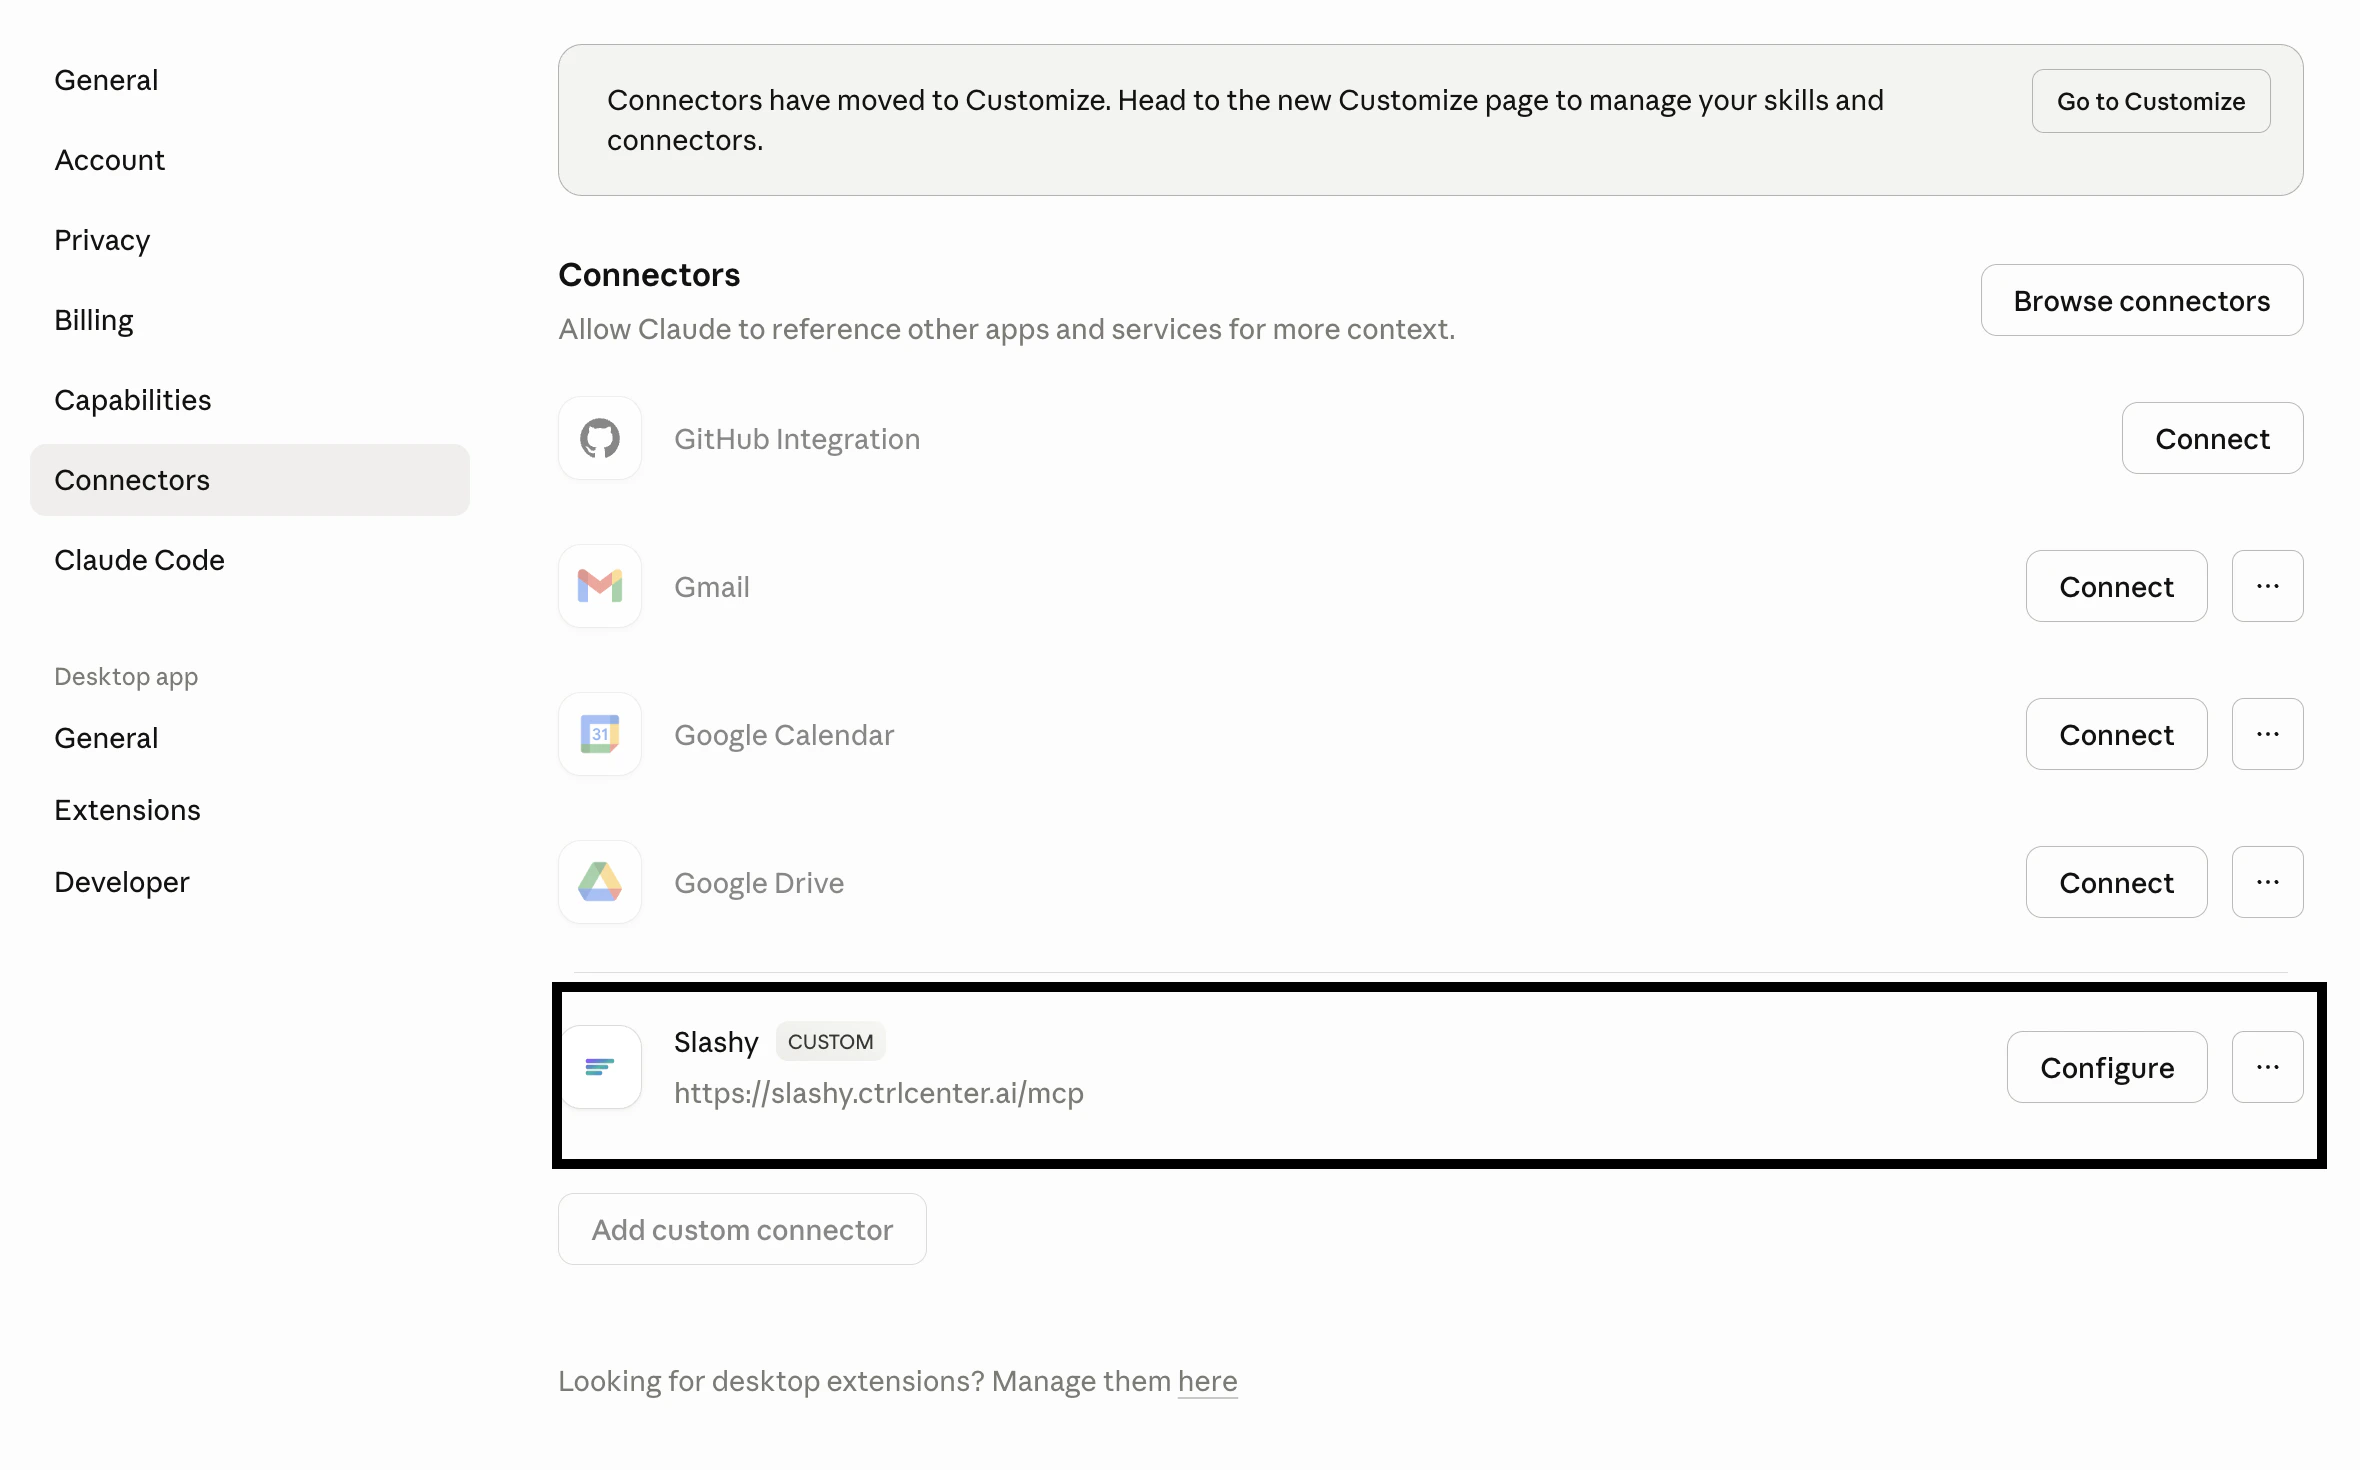
What happens after setup
Claude Desktop manages the OAuth token silently. If you sign out of Slashy or revoke access, Claude Desktop will prompt you to reconnect.Next steps
Using Slashy MCP
Email prompts for triage, drafting, follow-ups, and scheduling.
Troubleshooting
Fixes for OAuth, missing tools, and wrong accounts.