

How Classification Works
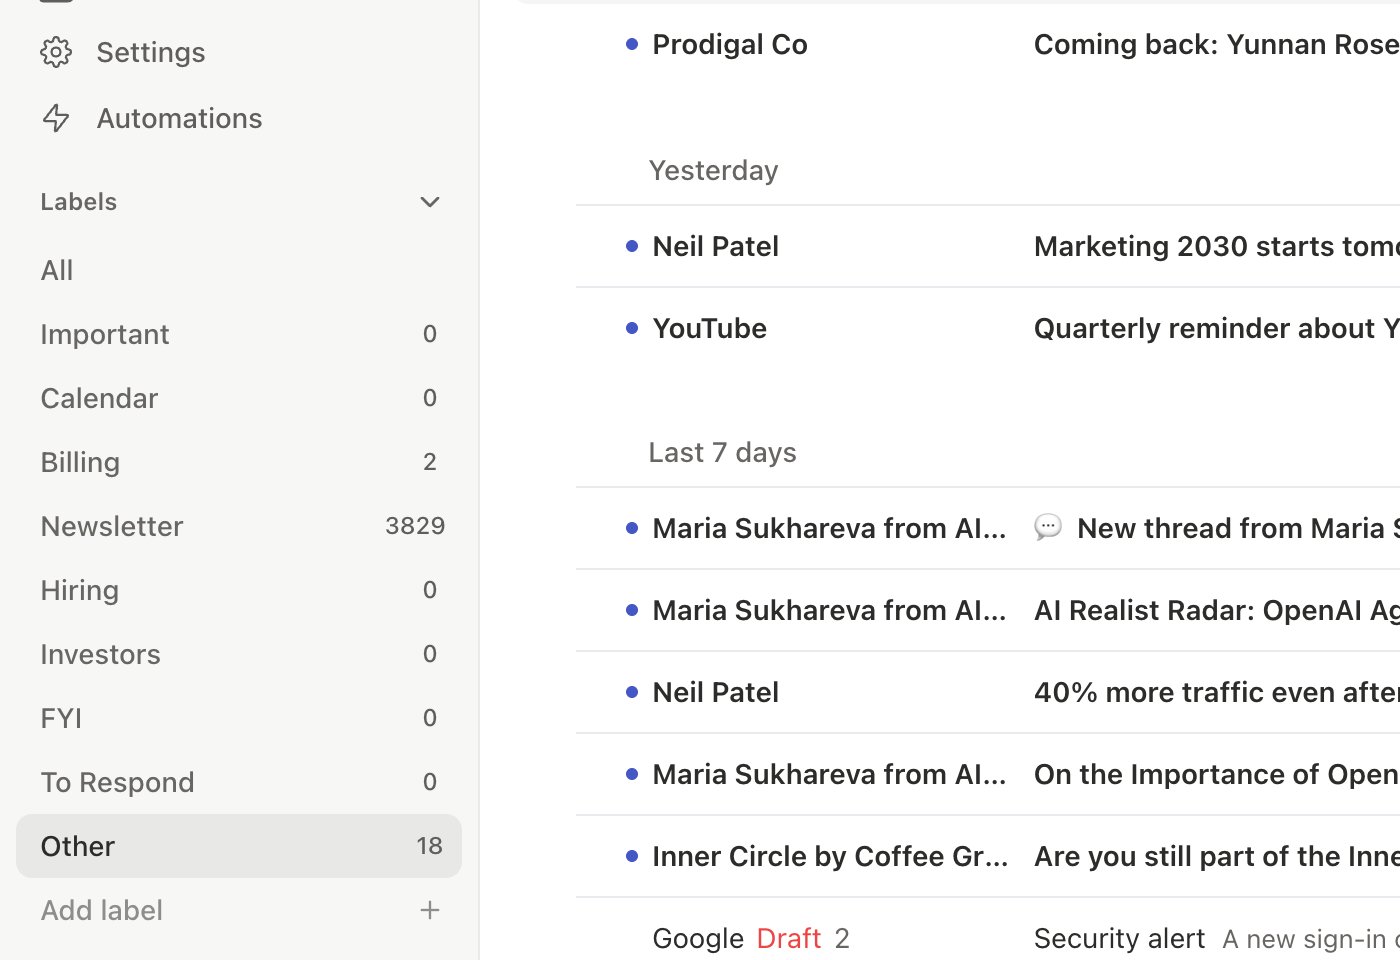
The AI reads sender, subject, and body, then assigns the most relevant label using:- Sender identity and your relationship
- Email content and whether it requires action
- Label descriptions you define
- Training examples you provide
- Feedback history from past corrections
Default Labels
The Notifications column shows the starting setting for new accounts, which get notifications on for every default label. Accounts created earlier keep the notification settings they already had. Change any label in Settings > Labels.
Most users enable 3-5 labels that match their workflow.
Creating a Custom Label
1
Open Settings
Go to Settings > Labels (
Cmd+,) and click Create Label (or press n l).2
Name and Describe
Give it a name and write a specific description: “Emails from current paying customers about product issues or feature requests. Excludes sales prospects.”
3
Configure
Optionally enable notifications and auto-archive.
Gmail Labels as Tabs
Your own Gmail labels can also become inbox tabs. In Settings > Labels, tick a Gmail label at the end of the list and it appears as a tab that shows the emails carrying that label. See Labels and AI classification.Training Examples
The most powerful accuracy tool. In Settings > Labels, click a label and add matched examples (emails that belong) and unmatched examples (emails that don’t). A few well-chosen examples outperform long descriptions.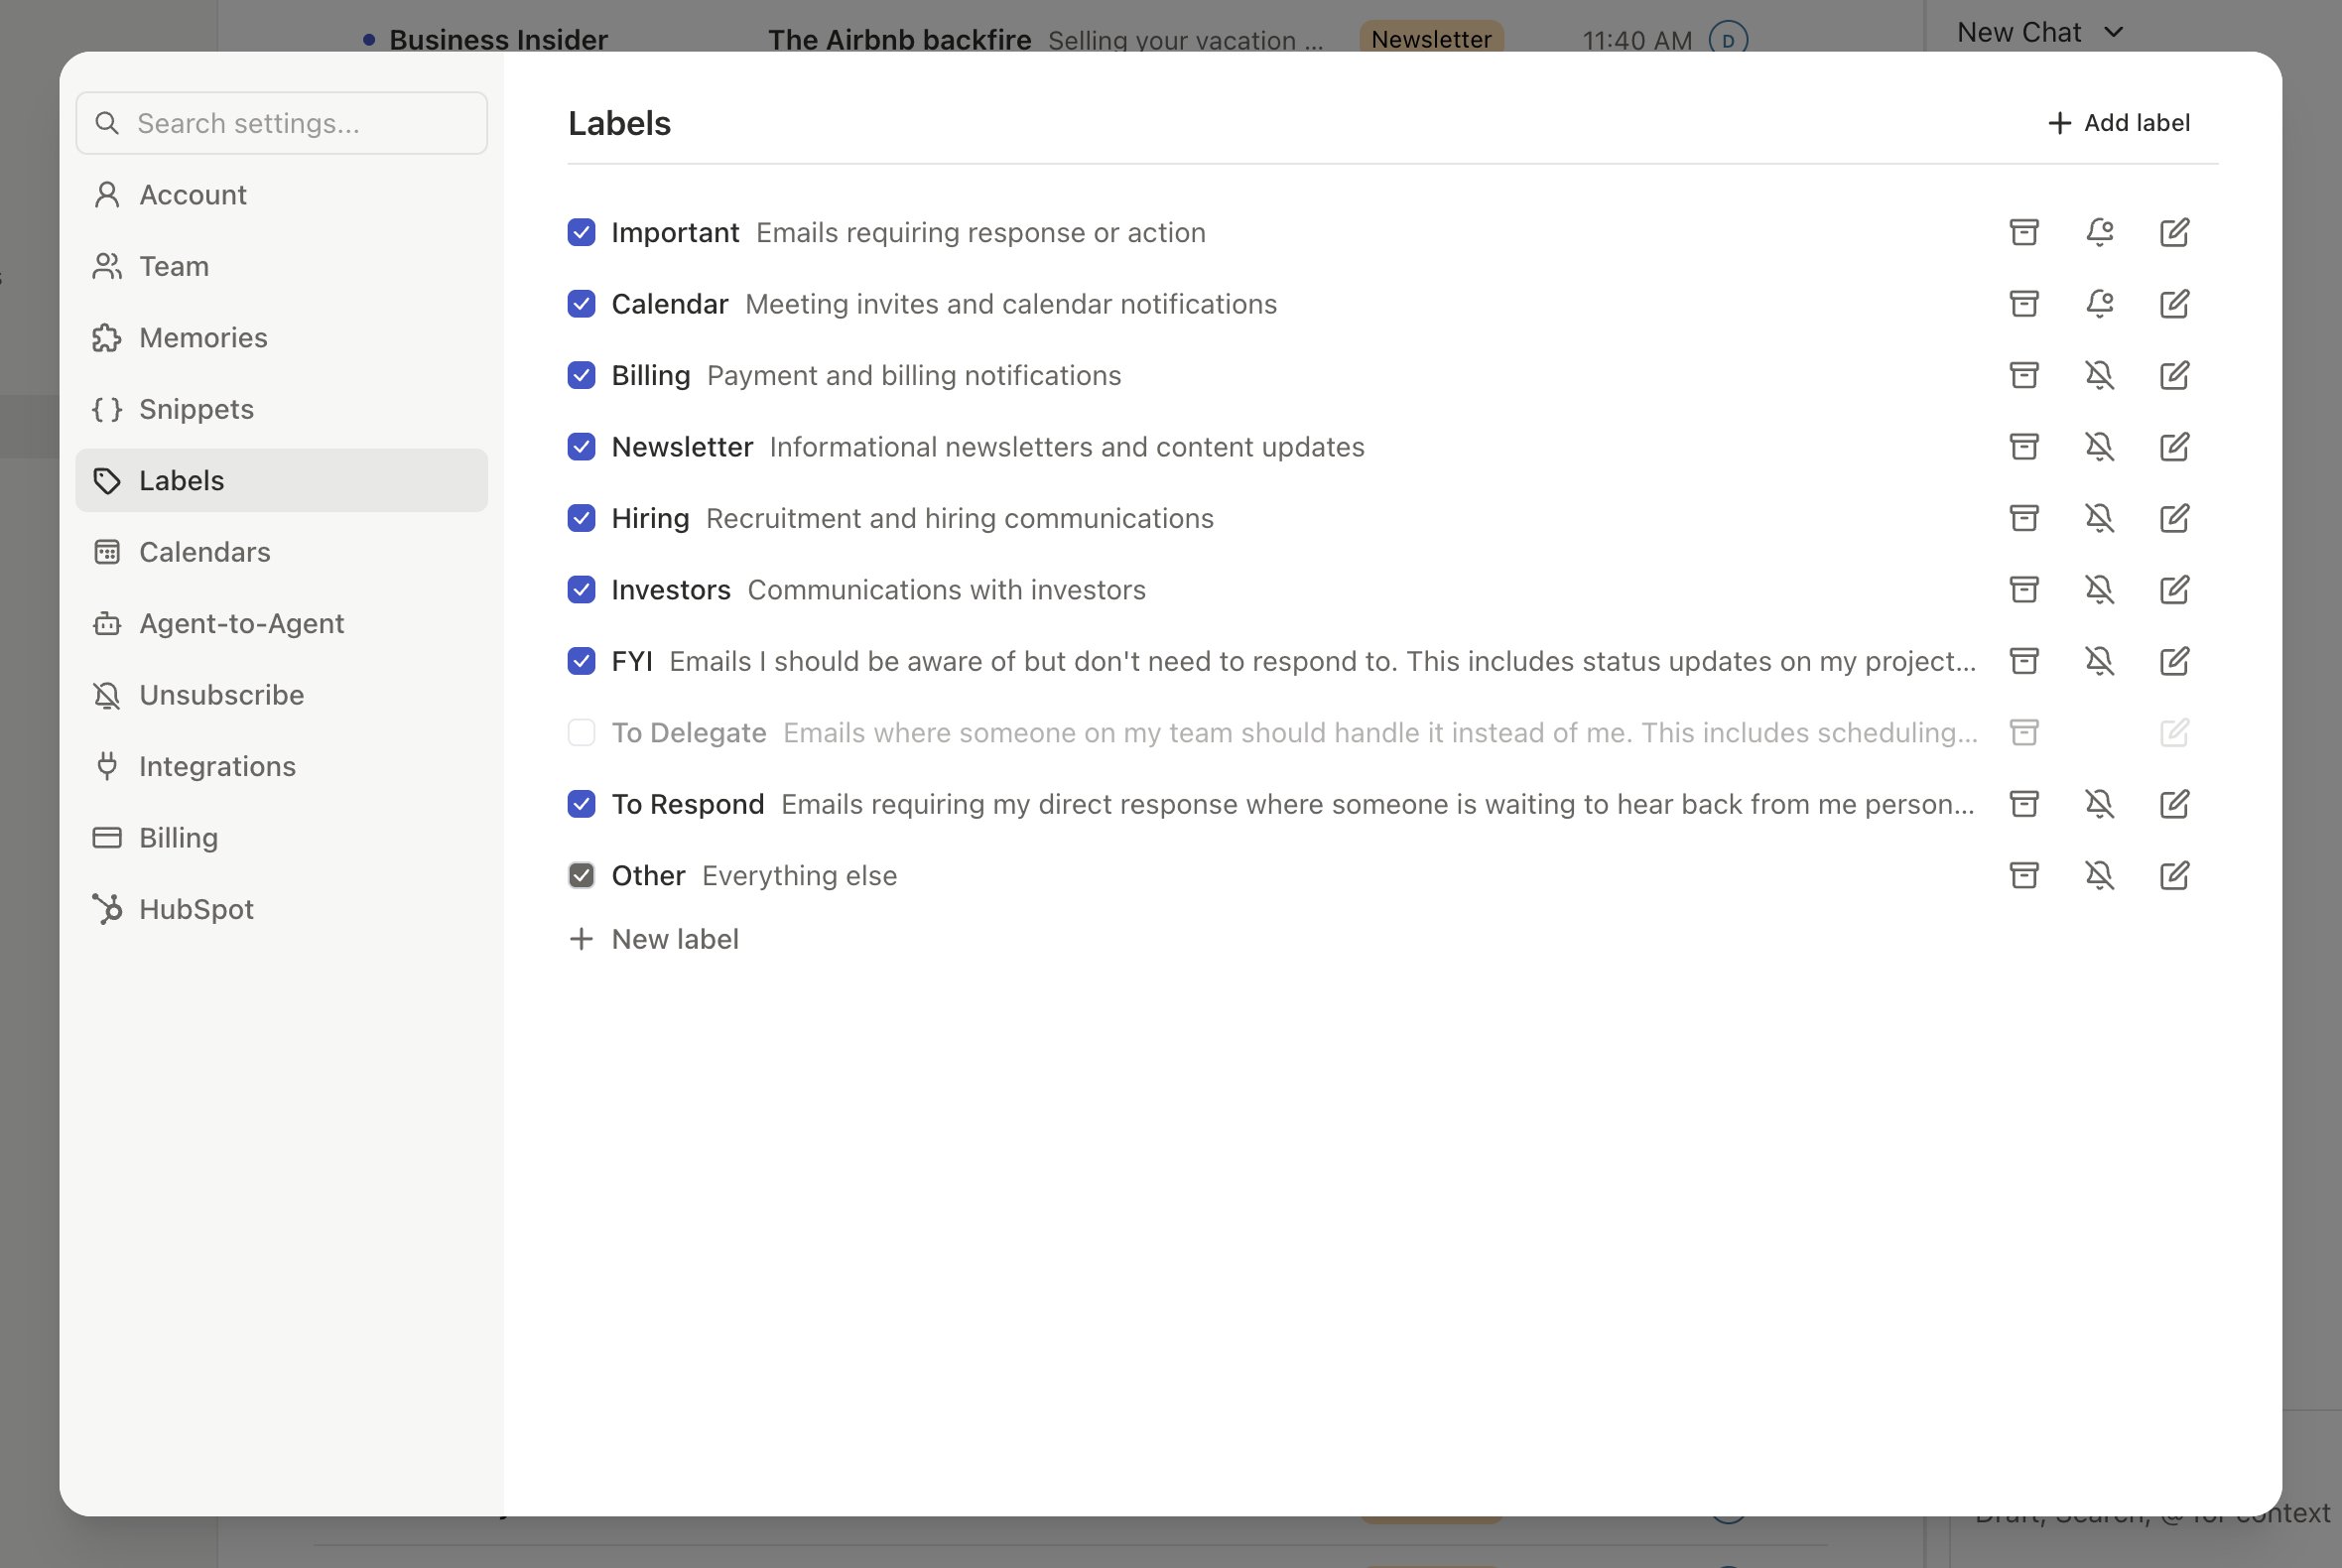
The Feedback Loop
Every time you move an email between labels, the AI treats it as a correction. Drag the email to the correct tab, or pressl/v to reassign. After a few corrections, the same misclassification rarely recurs.
Per-Label Settings
Related Articles
AI Memories
Teach the AI about your preferences and contacts.
Why Primary Matters
How using Slashy full-time accelerates AI learning.
Inbox Zero Guide
Reach inbox zero using labels and AI.
Inbox Views
Navigate views, filters, and multi-inbox switching.