> ## Documentation Index
> Fetch the complete documentation index at: https://help.slashy.com/llms.txt
> Use this file to discover all available pages before exploring further.
# Codex CLI Setup
> Add Slashy MCP to Codex CLI by editing ~/.codex/config.toml.
Codex CLI reads MCP servers from a TOML config file at `~/.codex/config.toml`.
## Setup
In your terminal, open the file in your editor:
```bash theme={null}
nano ~/.codex/config.toml
```
If the file does not exist, create it.
 Paste this block at the end of the file:
```toml theme={null}
[mcp_servers.slashy]
url = "https://slashy.ctrlcenter.ai/mcp"
```
Save and exit.
Paste this block at the end of the file:
```toml theme={null}
[mcp_servers.slashy]
url = "https://slashy.ctrlcenter.ai/mcp"
```
Save and exit.
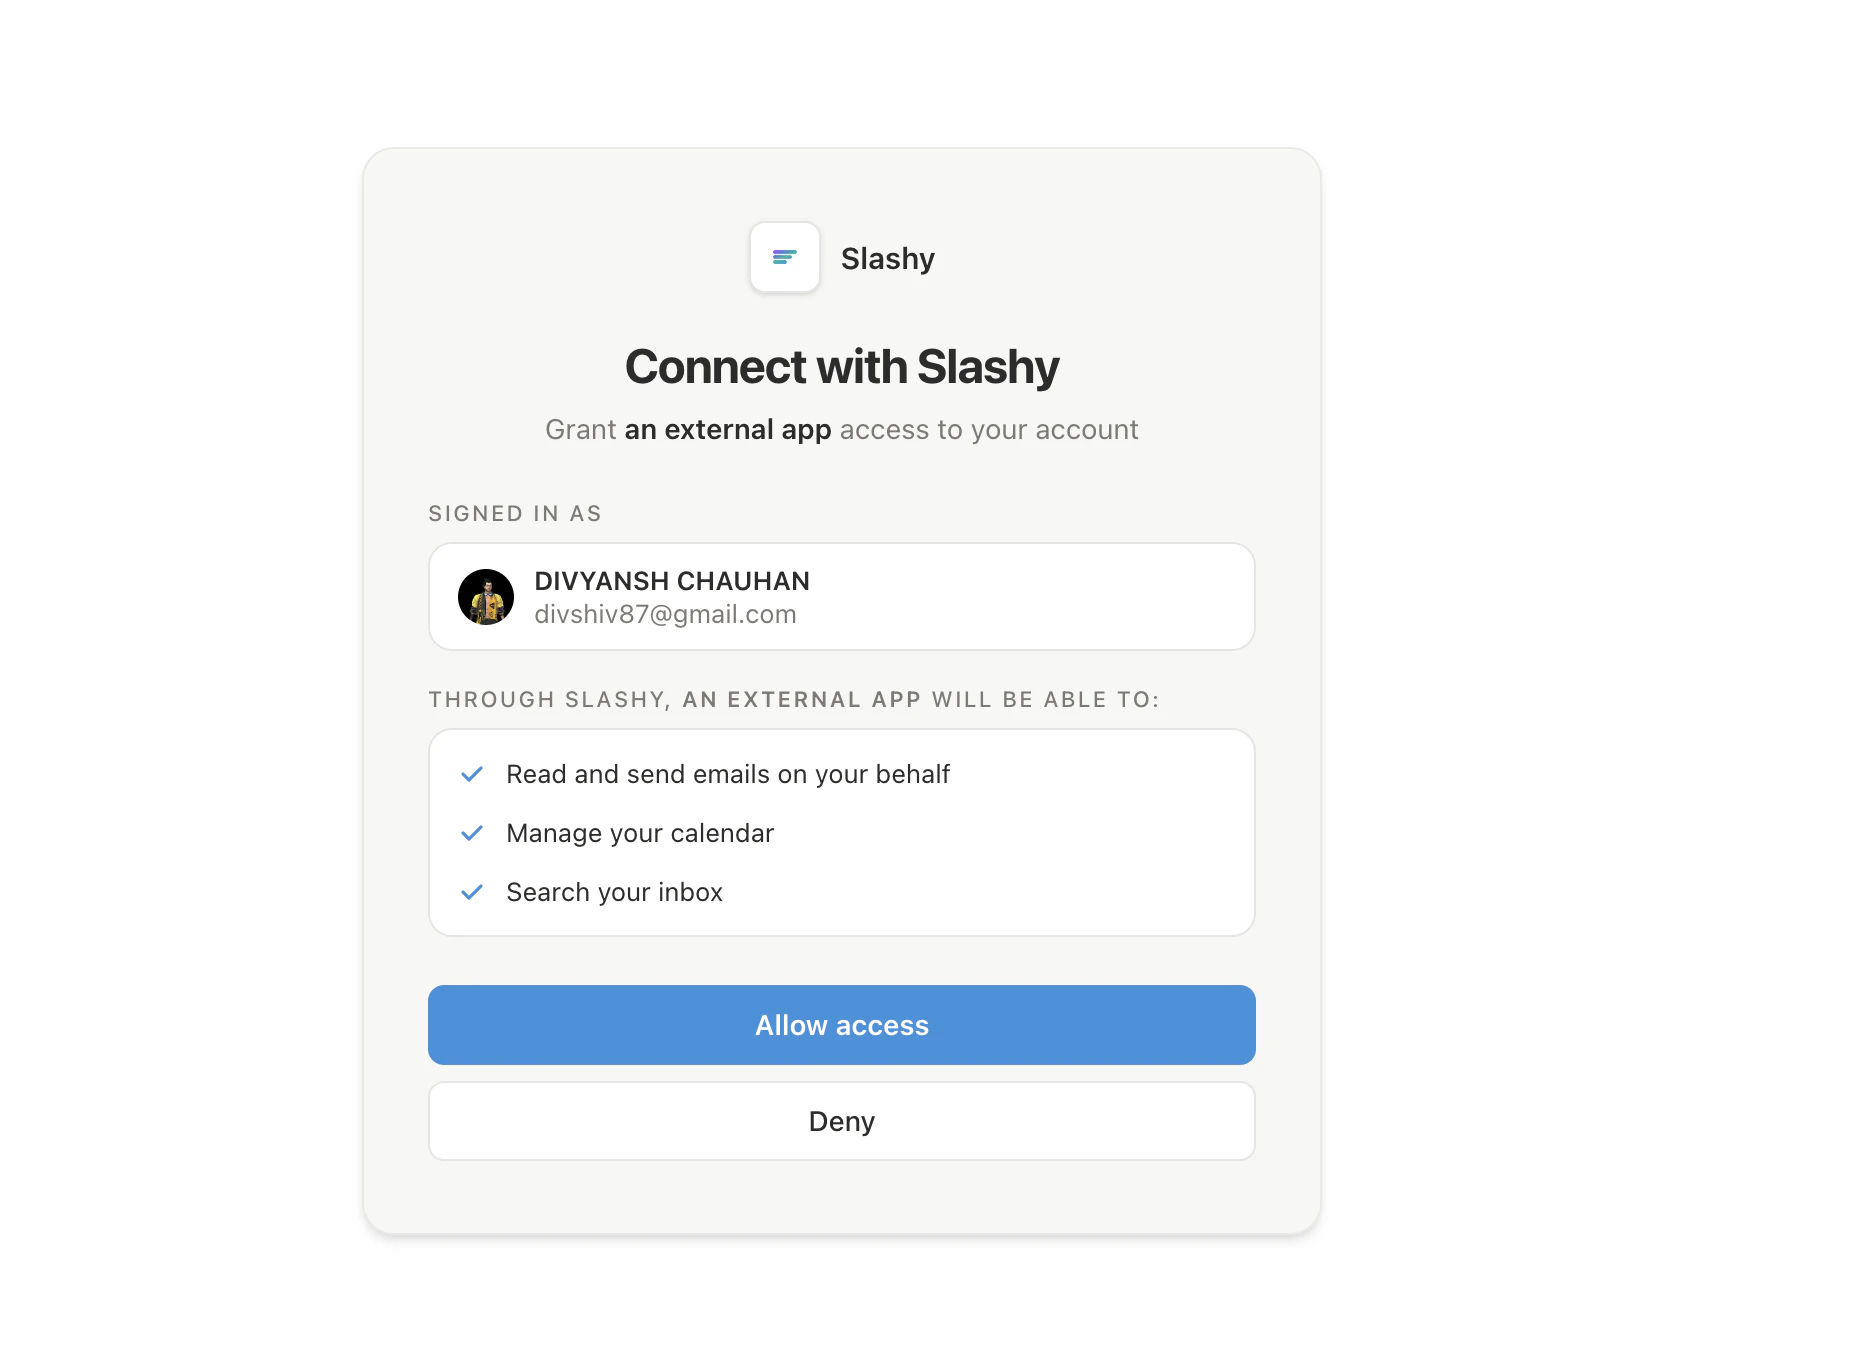
 Run `codex` in your terminal. On first launch, it opens your browser to the Slashy login page. Sign in with Google and click **Allow**.
 Inside Codex, type `/mcp`. You should see **slashy** listed as connected with its tools visible.
 ## What happens after setup
Codex caches the OAuth token in `~/.codex/auth/`. It refreshes automatically on expiry.
## Next steps
Email prompts for triage, drafting, follow-ups, and scheduling.
Fixes for OAuth, missing tools, and wrong accounts.
## What happens after setup
Codex caches the OAuth token in `~/.codex/auth/`. It refreshes automatically on expiry.
## Next steps
Email prompts for triage, drafting, follow-ups, and scheduling.
Fixes for OAuth, missing tools, and wrong accounts.