> ## Documentation Index
> Fetch the complete documentation index at: https://help.slashy.com/llms.txt
> Use this file to discover all available pages before exploring further.
# How do I make my assistant email from my company address?
> Give your Slashy assistant its own mailbox on your company domain instead of the shared Slashy address.
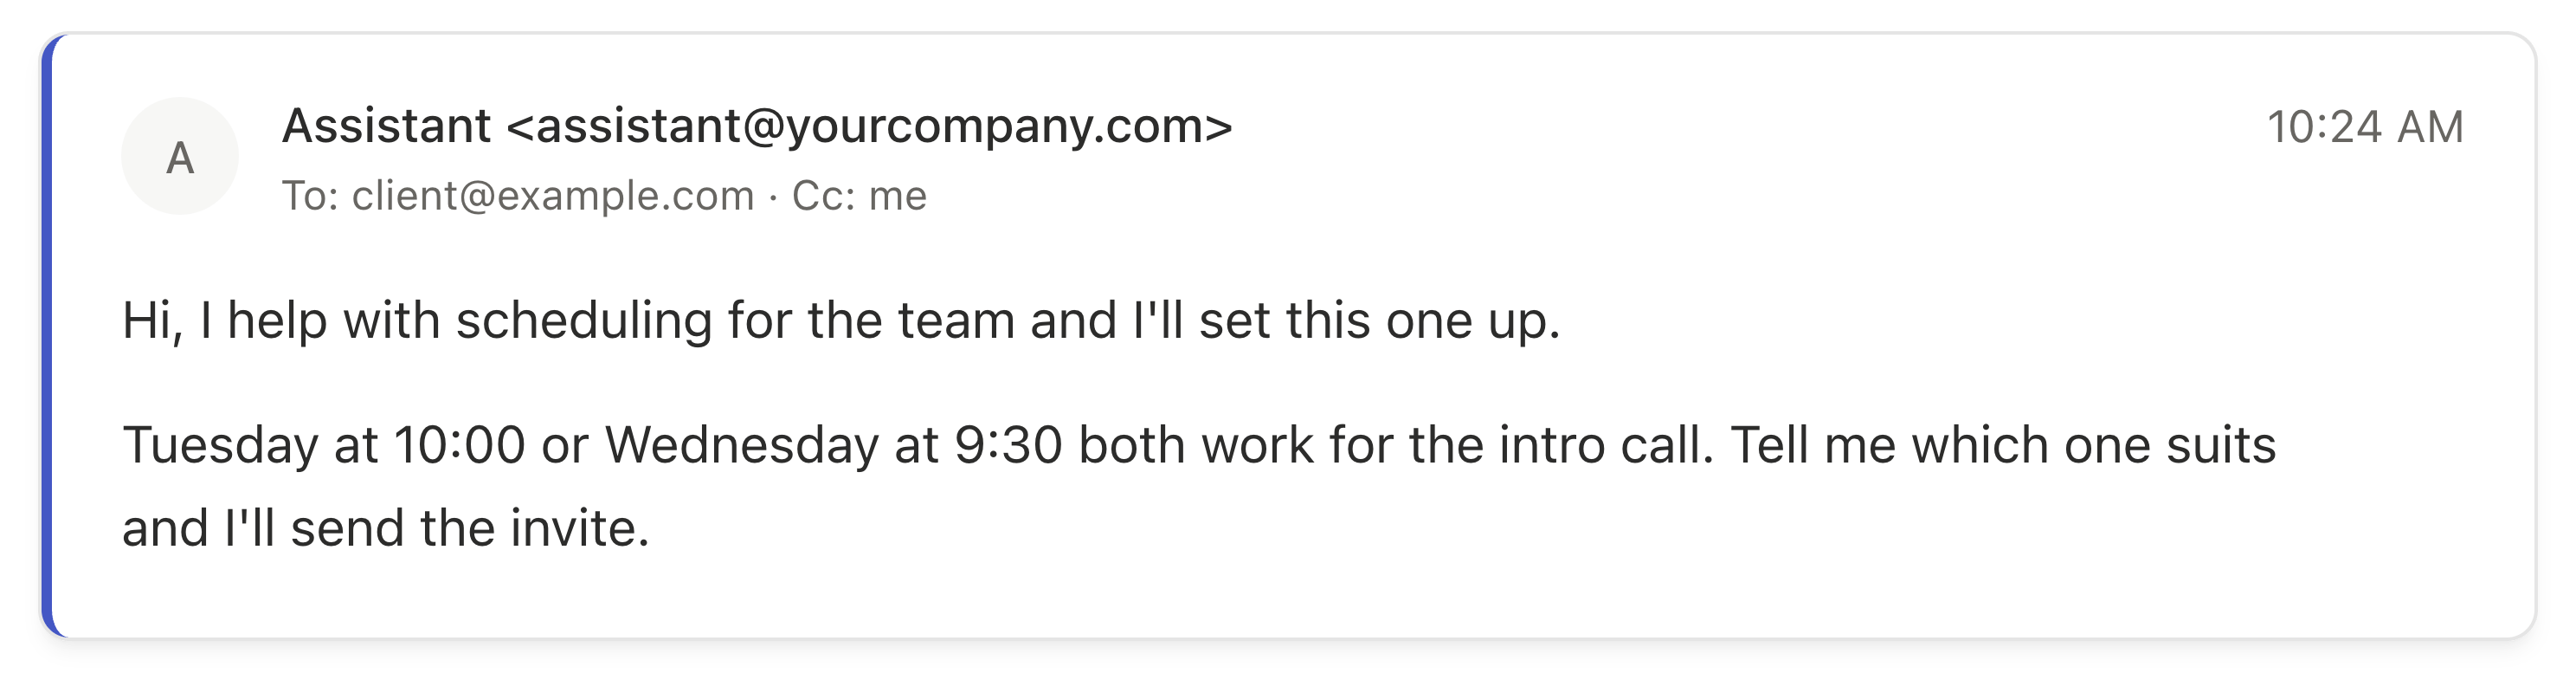
Slashy's assistant emails people for you, like when it schedules a meeting or follows up on a thread. Right now it sends from `slashy@slashy.com`. Connect a company mailbox so people see your company instead.
Here is what the people your assistant emails will see:
 ## Before you start
* Your company email runs on **Google Workspace**.
* You, or someone on your team, can add users in **Google Admin**.
Adding a user in Google Workspace may use a Workspace license. Your Workspace admin can confirm.
## Set it up
Go to [admin.google.com](https://admin.google.com) and sign in with a Workspace admin account.
Open **Directory → Users → Add new user**. Pick a name people will recognize, such as *Assistant* or *Scheduling*, and an address such as `assistant@yourcompany.com`.
In Slashy, open **Settings → Account → Assistant Email** and select **Connect**.
When Google asks you to choose an account, pick **Use another account** and sign in with `assistant@yourcompany.com`. Allow the requested permissions.
Your assistant now emails people from the new address. **Settings → Account → Assistant Email** shows the connected mailbox.
## Use it
CC the new address on any thread you want handed off. The assistant replies from that address.
## Common questions
Send these steps to whoever manages your company's Google Workspace, usually IT. Once they create the mailbox and share its sign-in with you, finish the last two steps yourself.
Your Workspace admin needs to allow Slashy. See [Connecting Gmail](/getting-started/connecting-gmail) for what to send them.
The address you signed in with is already one of your inboxes in Slashy. Your assistant needs a mailbox of its own, so create a separate user as in step 2.
The account you picked has no Gmail inbox, which happens with Google Groups and aliases. Create a full user in **Directory → Users** instead.
Open **Settings → Account → Assistant Email** and select **Disconnect**. New handoffs use `slashy@slashy.com` again. Conversations that already ran through your company address stay separate.
Permissions and Workspace admin approval
Tone, style, and memories for your assistant
Work across several inboxes
What the assistant can send and when
## Before you start
* Your company email runs on **Google Workspace**.
* You, or someone on your team, can add users in **Google Admin**.
Adding a user in Google Workspace may use a Workspace license. Your Workspace admin can confirm.
## Set it up
Go to [admin.google.com](https://admin.google.com) and sign in with a Workspace admin account.
Open **Directory → Users → Add new user**. Pick a name people will recognize, such as *Assistant* or *Scheduling*, and an address such as `assistant@yourcompany.com`.
In Slashy, open **Settings → Account → Assistant Email** and select **Connect**.
When Google asks you to choose an account, pick **Use another account** and sign in with `assistant@yourcompany.com`. Allow the requested permissions.
Your assistant now emails people from the new address. **Settings → Account → Assistant Email** shows the connected mailbox.
## Use it
CC the new address on any thread you want handed off. The assistant replies from that address.
## Common questions
Send these steps to whoever manages your company's Google Workspace, usually IT. Once they create the mailbox and share its sign-in with you, finish the last two steps yourself.
Your Workspace admin needs to allow Slashy. See [Connecting Gmail](/getting-started/connecting-gmail) for what to send them.
The address you signed in with is already one of your inboxes in Slashy. Your assistant needs a mailbox of its own, so create a separate user as in step 2.
The account you picked has no Gmail inbox, which happens with Google Groups and aliases. Create a full user in **Directory → Users** instead.
Open **Settings → Account → Assistant Email** and select **Disconnect**. New handoffs use `slashy@slashy.com` again. Conversations that already ran through your company address stay separate.
Permissions and Workspace admin approval
Tone, style, and memories for your assistant
Work across several inboxes
What the assistant can send and when