> ## Documentation Index
> Fetch the complete documentation index at: https://help.slashy.com/llms.txt
> Use this file to discover all available pages before exploring further.
# Automate Receipt Forwarding
> Auto-forward receipts and invoices to Expensify, Ramp, Brex, or any email address.
Slashy's AI agent detects receipts, invoices, and payment confirmations the moment they arrive and forwards them automatically. Setup takes 90 seconds.
## Before You Start
Get the intake email for your expense tool:
* **Expensify:** `receipts@expensify.com` (or your custom address)
* **Ramp:** Your unique `@receipts.ramp.com` address
* **Brex:** Your unique `@receipts.brex.com` address
* **Other:** Whatever email your accounting system accepts
## Set Up the Automation
Press `Cmd+Shift+L` or `p a`.
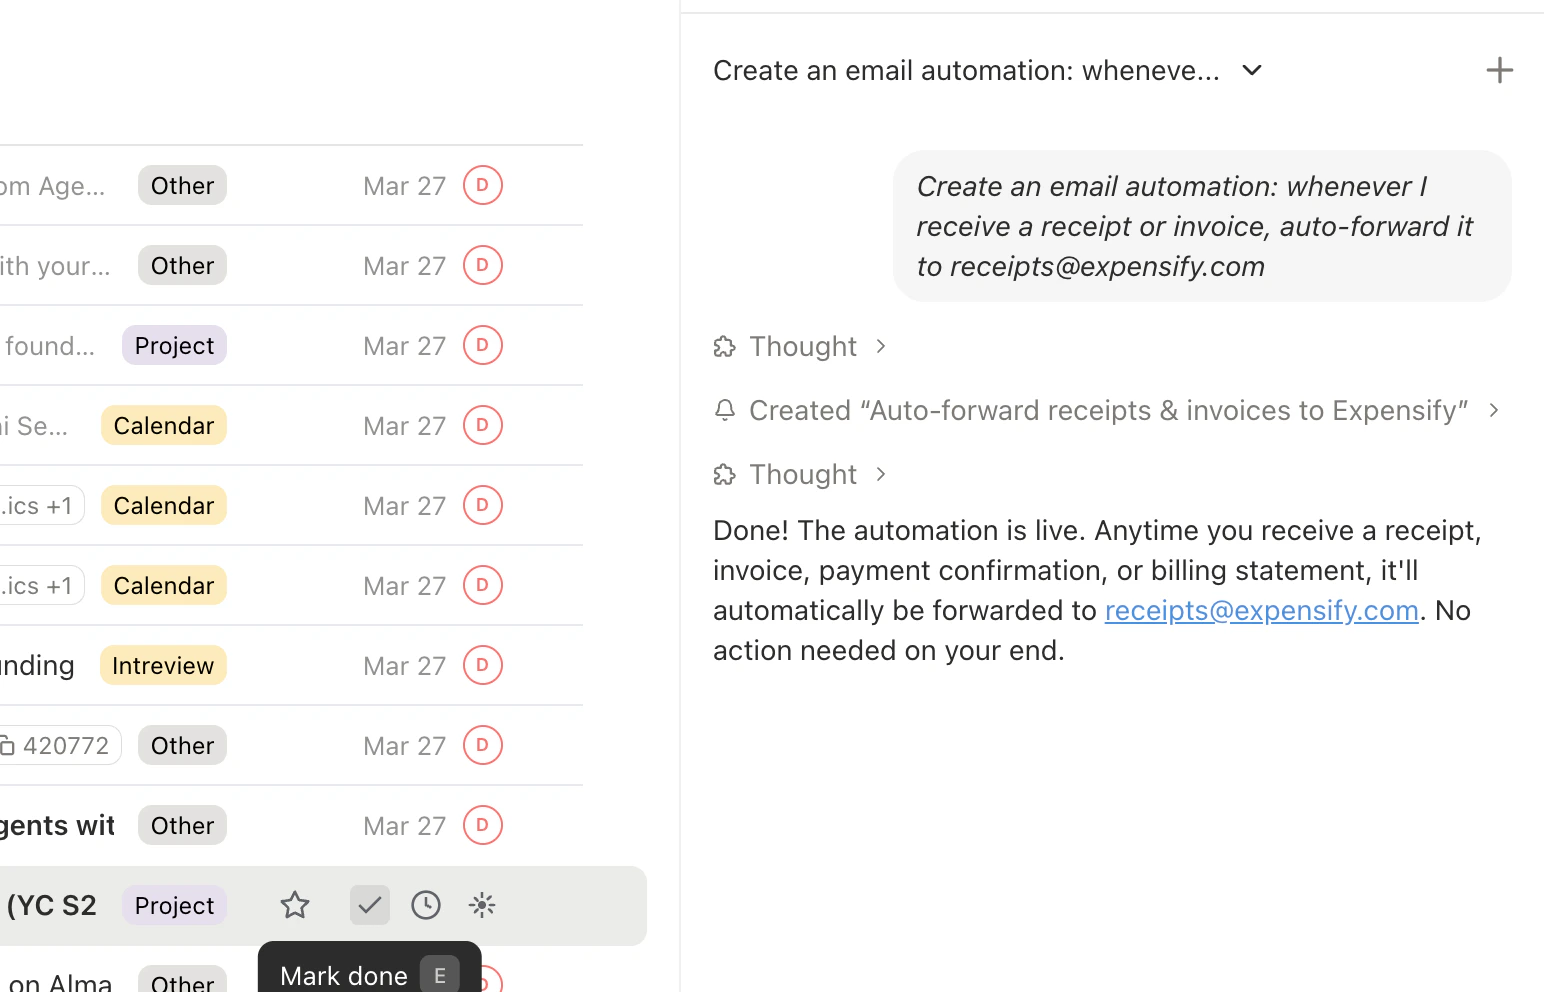
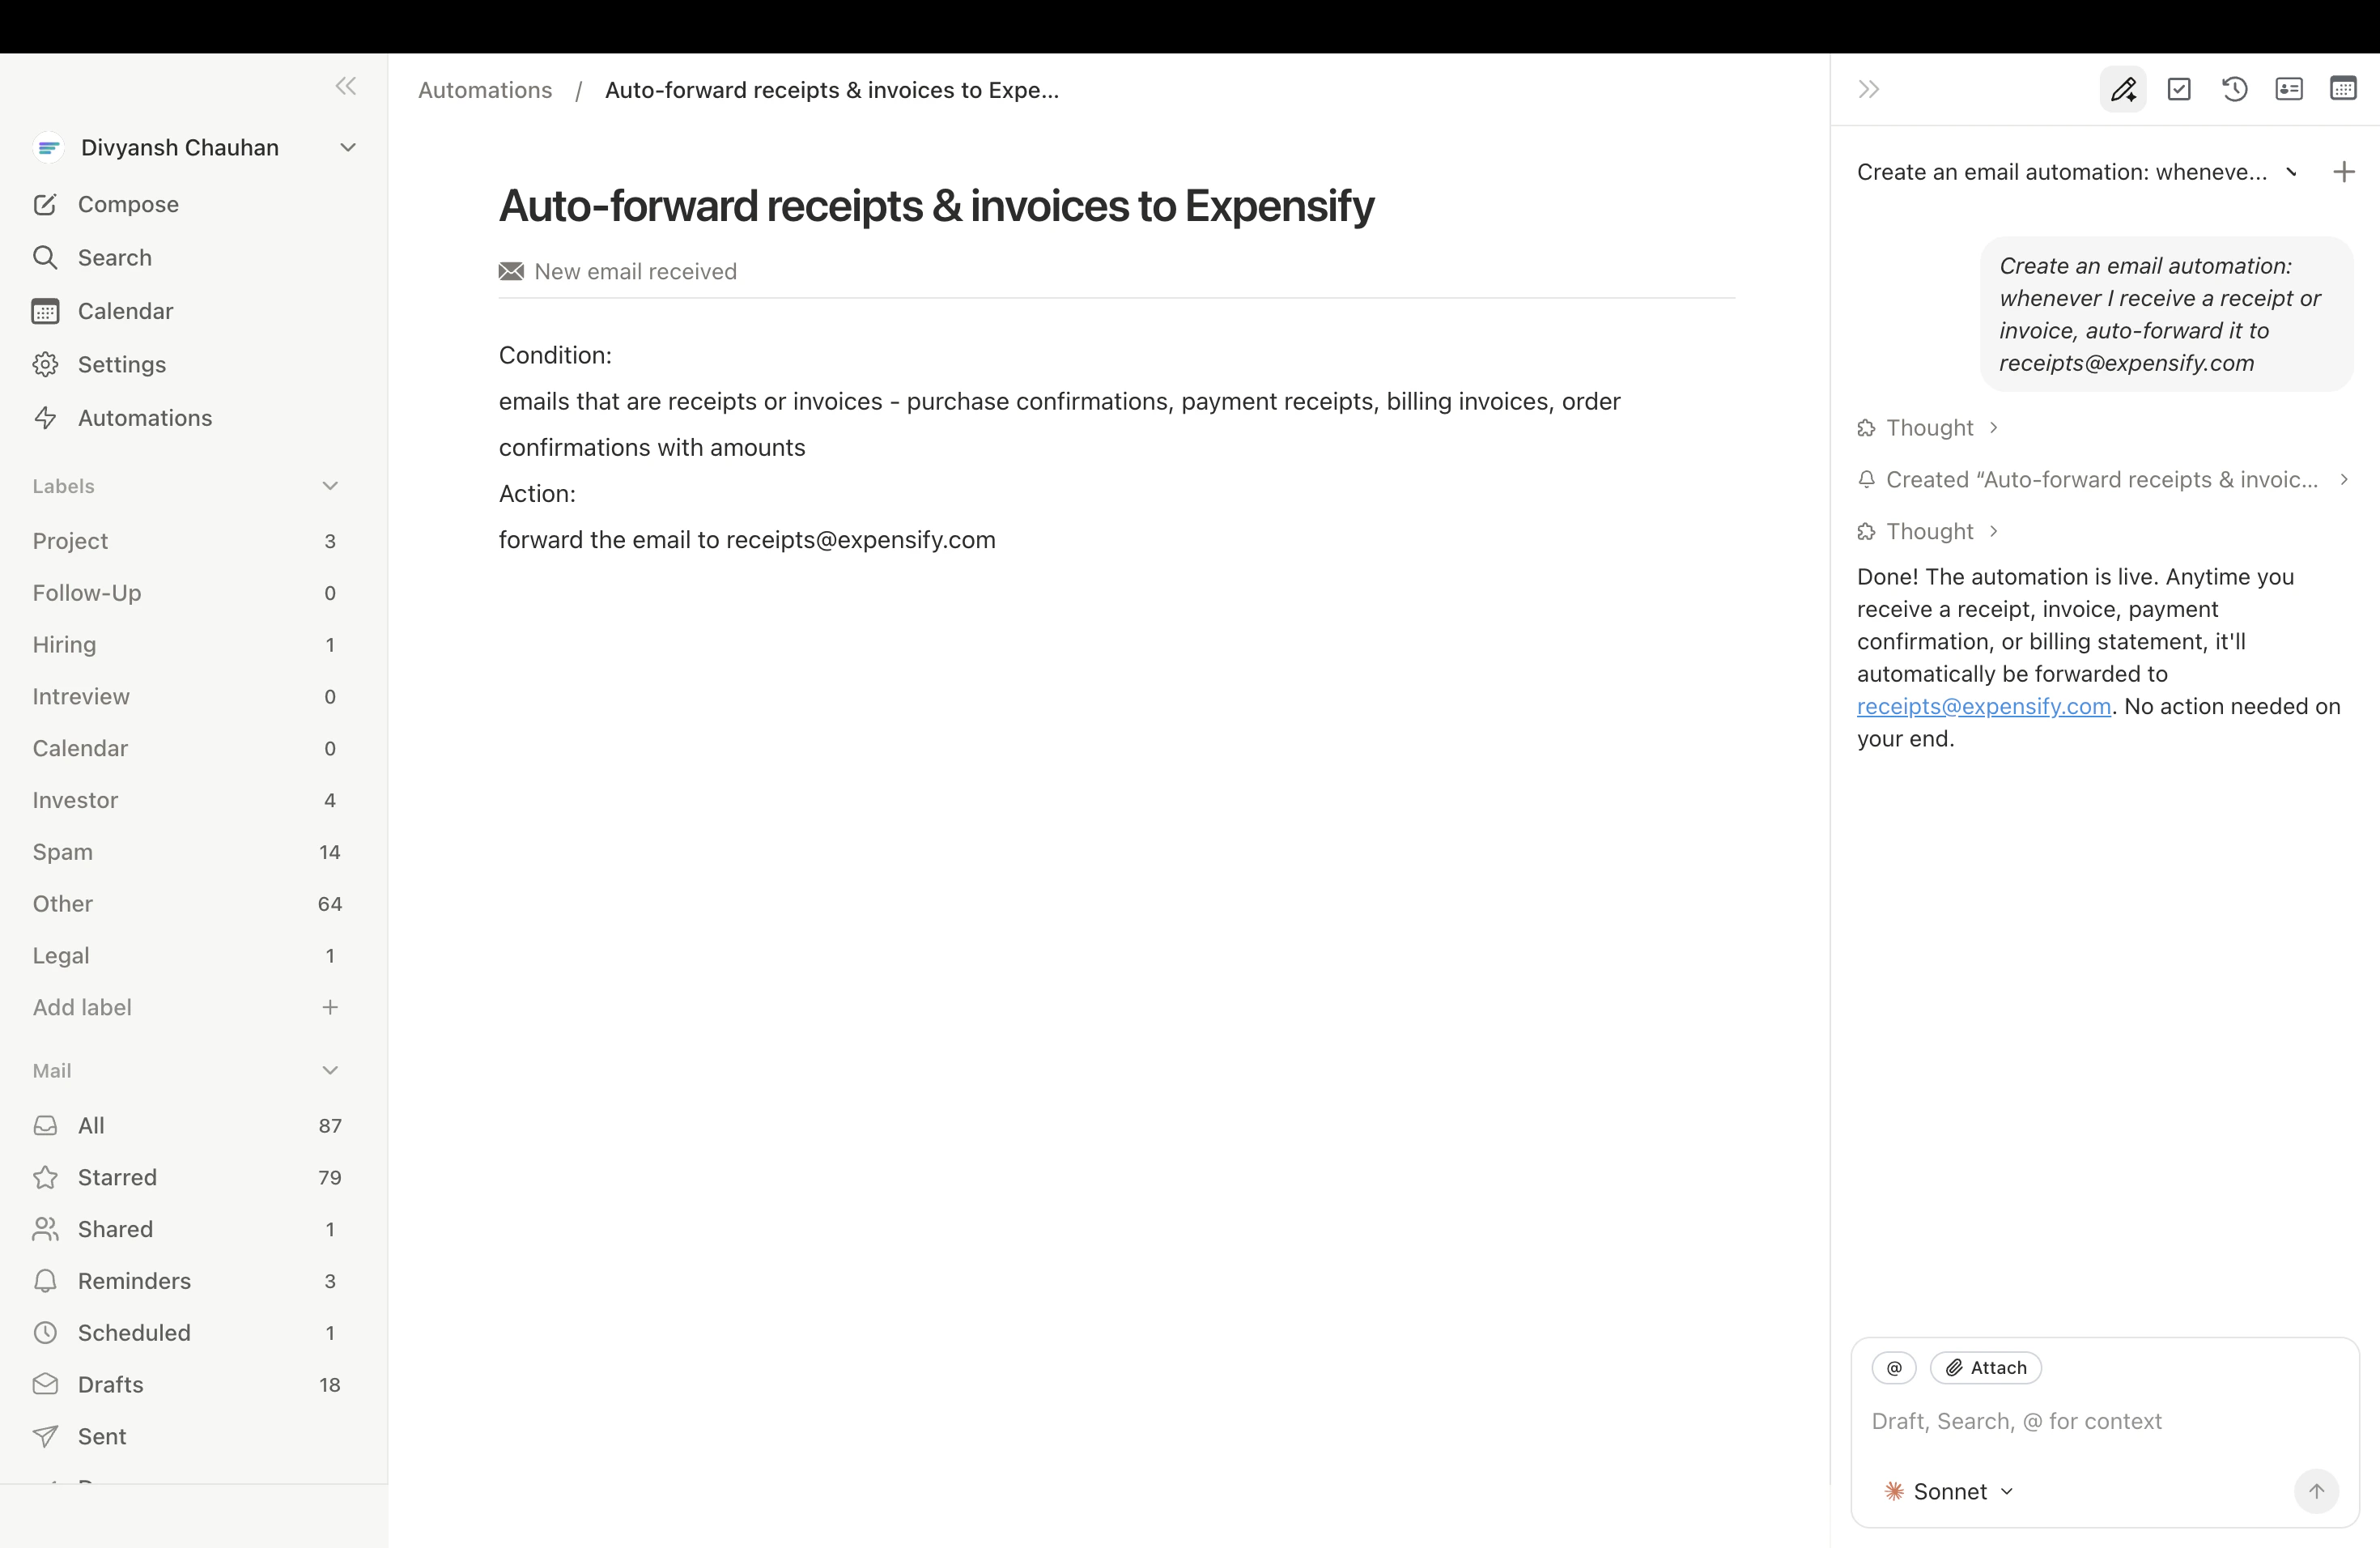
Type: *"Create an email automation: whenever I receive a receipt or invoice, auto-forward it to [receipts@expensify.com](mailto:receipts@expensify.com)"* (replace with your actual address).
The agent shows the trigger details -- receipt detection by content patterns (order confirmations, invoices, transaction alerts). Confirm to activate.
 ## Customize the Trigger
* *"Only forward receipts over \$50"*
* *"Only forward receipts from Amazon, Uber, and airlines"*
* *"Forward invoices but not subscription renewals"*
* *"Only forward receipts with a PDF attachment"*
* *"Also include shipping confirmations and tracking emails"*
* *"Include bank transaction alerts"*
To update after setup, tell the agent or edit directly in **Settings > Automations**.
## Forward to Multiple Addresses
Ask the agent: *"When I receive a receipt, forward it to both [receipts@expensify.com](mailto:receipts@expensify.com) and [bookkeeper@myaccountant.com](mailto:bookkeeper@myaccountant.com)."*
## Test It
Wait for your next receipt, then verify it appeared in your expense tool. Check **Settings > Automations** to confirm the trigger fired. If a receipt wasn't caught, ask the agent: *"Why didn't my last Amazon receipt get forwarded?"*
## Customize the Trigger
* *"Only forward receipts over \$50"*
* *"Only forward receipts from Amazon, Uber, and airlines"*
* *"Forward invoices but not subscription renewals"*
* *"Only forward receipts with a PDF attachment"*
* *"Also include shipping confirmations and tracking emails"*
* *"Include bank transaction alerts"*
To update after setup, tell the agent or edit directly in **Settings > Automations**.
## Forward to Multiple Addresses
Ask the agent: *"When I receive a receipt, forward it to both [receipts@expensify.com](mailto:receipts@expensify.com) and [bookkeeper@myaccountant.com](mailto:bookkeeper@myaccountant.com)."*
## Test It
Wait for your next receipt, then verify it appeared in your expense tool. Check **Settings > Automations** to confirm the trigger fired. If a receipt wasn't caught, ask the agent: *"Why didn't my last Amazon receipt get forwarded?"*
 All automations live in **Settings > Automations** where you can toggle them on/off or delete them.
***
## Related Articles
The essential automations every user should configure.
How email trigger automations work under the hood.
Connect your phone for alerts and OTP forwarding.
All automation types and how to manage them.
All automations live in **Settings > Automations** where you can toggle them on/off or delete them.
***
## Related Articles
The essential automations every user should configure.
How email trigger automations work under the hood.
Connect your phone for alerts and OTP forwarding.
All automation types and how to manage them.